DIY Car Detailing for Beginners
Car detailing can be an overwhelming task if you’ve never done it before. Not only are cars are full of all kinds of mysterious nooks and crannies you don’t want to overlook, but there are so many different products on the market, it can be hard to know where to start.
Ideally, you should have a professional detail done at least twice a year. This will give your car a good foundation to start from, and ensure that any areas you overlook are tended to. From there, you can DIY your detailing once a month or so depending on your needs.
Car Detailing Essentials
For your first few detailing attempts, don’t go all out spending a fortune on specialty cleaners and detailing tools. You might not get as deep of a clean as a professional detailer, but you can get a feel for the process and what is involved. Most of the time, you can get away with some combination of the following:
- Vacuum
- Soft Brush
- Microfiber Cloth
- Glass Cleaner
- Carpet Cleaner
- All-Purpose Cleaner
- Air Canister
- Wheel Cleaner/Wheel Brush
- Toothbrush
- Paint Clay
- Wax
You’ll also want to have traditional car wash supplies on hand, including things like buckets and soap. Although this list might seem overwhelming, you’ll probably find many of these items in your usual cleaning supplies.
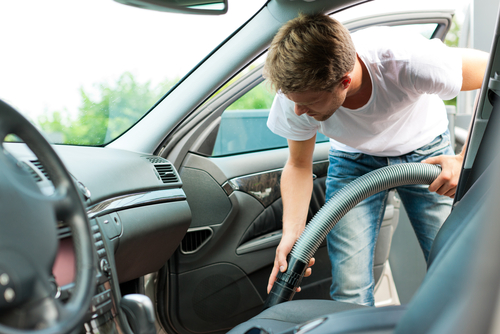
Detailing the Interior
You don’t have to start on the inside of the car, but it tends to be easier to move from the inside-out when detailing. (This is especially true if you have kids or pets who leave lots of junk behind.)
- Start by doing a thorough inside clean with a vacuum.
- Use the air canister to clean out vents and clear dust away from the dashboard and console.
- Where possible, remove parts that are easily lifted out (including floor mats and cup holders) so they can be washed separately.
- Use any necessary cleaners for the dashboard and other surfaces. (Note: if you have leather interiors, you’ll want to use special care and products.)
- Wash the carpets.
- Clean the inside of the windows.
- Don’t forget to include the trunk and areas like the glovebox or seat pouches.
Detailing the Exterior
When you detail the outside of the car, it’s best to start with the wheels, as they tend to require the most work. These will probably be the most work, as you’ll need lots of scrubbing and elbow grease, but the results are almost always worth it. From there, you can work on the rest of the car from bottom to top.
- Apply a cleaner to loosen grit and grime from the wheels.
- Scrub the wheels using a toothbrush or other small implement.
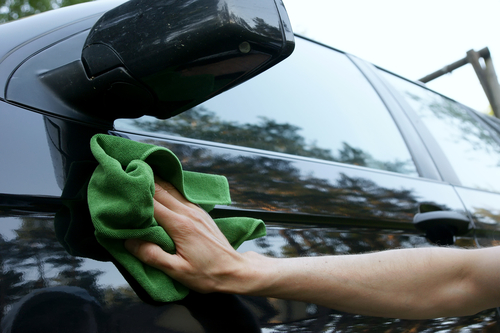
- Wash and dry the entire car according to your usual custom.
- Use paint clay to remove any lingering spots on the car’s surface (click here for a quick and easy YouTube tutorial on using clay).
- Focus on all seams and areas where the car’s exterior meets the interior.
- Clean any plastic parts and/or moving parts like windshield wipers.
- Deep clean the windows.
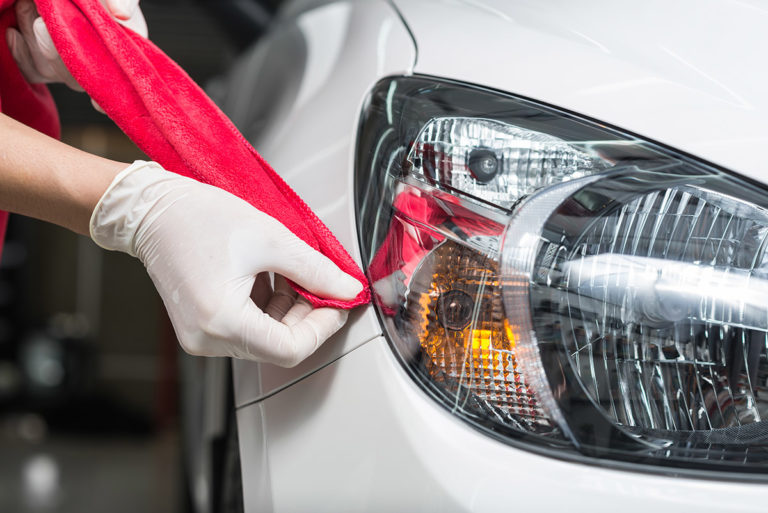
- Deep clean the lights.
- Apply a final wax and/or sealant.
Don’t forget that the first few times you detail, it’s likely to take you some time to complete everything on this checklist. The good news is, the more often you detail your car, the easier it will be to maintain a perfect clean.